If you catch your reflection in a shop window and your head is parked out in front of your shoulders like it's leading you somewhere, the chin tuck is the move that pulls it back. The chin tucks exercise is small, unglamorous, and almost invisible to anyone watching. It's also the single most direct way to retrain the deep muscles that are supposed to hold your head over your spine — the ones that quietly stopped doing their job somewhere around your third year of desk work.
This guide covers how to do it, what it should and shouldn't feel like, the common errors, and how often to practise before it sticks.
What the chin tuck actually trains
Your head weighs about five kilograms, and it's meant to balance directly over your shoulders so your spine can carry it efficiently. Stare at a screen slightly below eye level for years and it drifts forward instead. The deep muscles at the front of your neck — the ones that should tuck and stabilise — lengthen and switch off. The muscles at the back of the neck and the base of the skull shorten and stay clenched to stop your head dropping.
That's the pattern behind forward head posture, and it's why stretching the back of your neck feels great for an hour and then the tightness returns. You're treating the overworked muscles while ignoring the switched-off ones.
The chin tuck flips that. It's the one move that directly wakes up the deep neck flexors — the front-of-neck muscles that hold your head back over your shoulders. Strengthen them and the back of your neck finally gets to stop overworking.
A chin tuck isn't a stretch. It's a re-education. You're teaching a muscle to do a job it gave up on.
How to do a chin tuck
You can do this sitting tall or standing against a wall. The wall version gives you feedback, so start there.
- Stand with your back, shoulders, and the back of your head touching a wall. Feet a few inches out, knees soft.
- Look straight ahead — eyes level, not tilted up or down.
- Without nodding, gently draw your head straight back, as if sliding it along a shelf. You're making a "double chin" on purpose.
- Keep your eyes level the whole time. The motion is backward, not downward.
- Hold for five seconds. You should feel a light stretch at the base of your skull and a gentle effort at the front of your neck.
- Release slowly to neutral. That's one rep.
It should feel mild. A faint pull behind the skull and a small working sensation at the throat side of your neck is exactly right.
The mistakes that make it useless
Tilting instead of gliding. The most common error. People drop their chin to their chest, which is a nod, not a tuck. Keep your eyes level — the head travels straight back like a drawer closing.
Forcing it. This is a small, gentle movement. Cranking your head back hard recruits the wrong muscles and can leave you sore. If you feel sharp pain or dizziness, ease off.
Holding your breath. People clench and stop breathing. Breathe normally through the hold.
Doing one set and quitting. A single session won't change a pattern years in the making. The dose is frequency, not intensity.
If you struggle to feel the front of your neck working, place two fingertips lightly on your throat — you'll feel the deep muscles engage as you tuck. Another way to find the right motion: lie on your back with no pillow, look at the ceiling, and gently nod your chin a few millimetres while pressing the back of your head lightly into the floor. Lying down removes gravity and makes it easier to isolate the deep flexors before you try it upright.
Reps, sets, and how often
Start with 2 sets of 10 holds, five seconds each, two or three times a day. The neck responds to repetition spread across the day better than one long session.
The best part of the chin tuck is that you can do it without anyone noticing — at a red light, in a meeting, waiting for the kettle. Pin it to a habit you already have so it actually happens. Once it feels easy:
- Add a light hold from your hand at the chin for gentle resistance.
- Hold the tucked position longer — up to ten seconds.
- Practise the tuck as your default sitting position, not just during sets.
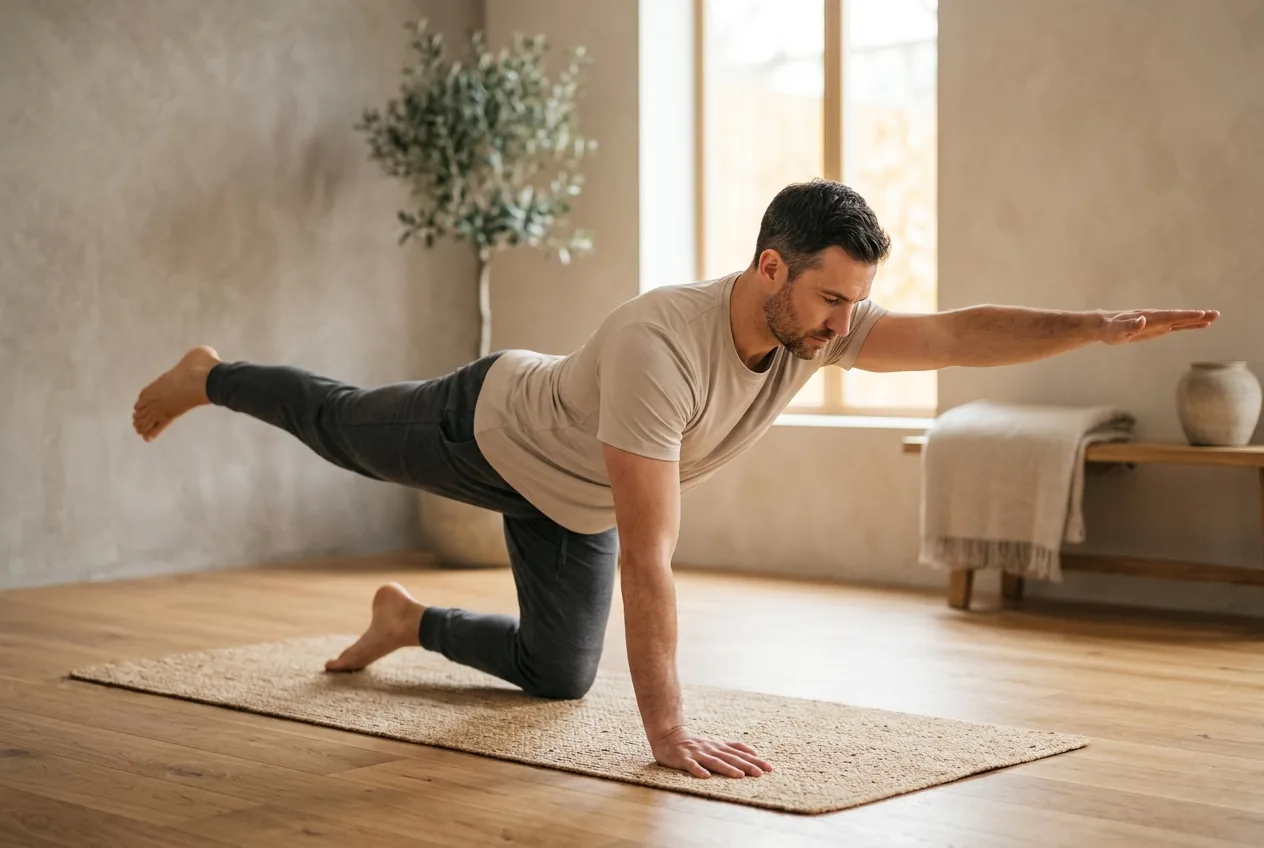
Combine it with wall angels, which open the chest and upper back that forward head posture tends to round shut. The two together address more of the pattern than either alone.
What progress looks like
Don't expect your head to suddenly sit back on its own after a week. The deep neck flexors are small and they've been off duty for a long time. What usually comes first is awareness — you start *catching* your head drifting forward at the desk and tucking it back without a second thought. That noticing is the early win, and it matters more than it sounds, because the forward drift happens unconsciously. Strength and a more natural resting position come later, with weeks of repetition. The mid-afternoon neck clamp tends to ease as the back of your neck stops carrying the head's weight alone. Slow, unspectacular, and real.
When to see a doctor
The chin tuck is gentle, but the neck is close to the nerves that run to your arms. Stop and see a clinician promptly if you have numbness, tingling, or weakness in an arm or hand, dizziness or visual changes during the move, pain after a fall or whiplash, headaches that are new and severe, or neck pain that's worsening rather than easing. Those signs deserve a professional look before you keep training.
Why one move rarely fixes the whole picture
The chin tuck reliably wakes up the right muscles. But forward head posture rarely travels alone — it usually comes bundled with rounded shoulders, a tight chest, and an upper back that's lost its position. Drilling chin tucks while ignoring the rest is like tuning one string on a guitar.
Which muscles need waking, which need releasing, and in what order depends on your specific pattern. That's why a generic neck routine helps some people and frustrates others. Knowing your own deviations is what turns a single move into a sequence that holds. A posture assessment measures where your head, shoulders, and spine actually sit and builds the routine around it.
Do the chin tuck right, do it often, and let it teach your head where it belongs. Then build the rest of the sequence around what your body actually needs.
Common questions
What do chin tucks do?
They retrain the deep muscles at the front of your neck — the deep neck flexors — that are supposed to hold your head over your shoulders. Strengthening them lets the overworked muscles at the back of your neck finally stop straining.
How many chin tucks should I do a day?
Start with 2 sets of 10 holds, five seconds each, two or three times a day. The neck responds better to short sessions spread across the day than to one long one.
Why don't I feel anything when I do chin tucks?
Often you're tilting instead of gliding. Keep your eyes level and slide your head straight back like a drawer closing, not dropping your chin to your chest. Resting two fingertips on your throat can help you feel the deep muscles engage.
How long until chin tucks fix forward head posture?
Awareness usually comes first — within a couple of weeks you start catching your head drifting forward and tucking it back. A more natural resting position and real strength take longer, often several weeks of regular practice.